People live and connect on social media, and with each new smartphone, the cameras become more advanced. What does this mean for you? Well, every person (and every business) can post photos on social media. However, just because you can quickly point, tap, and upload does not mean the image was created equally. When you’re not using a professional photographer, here are our tips for taking and posting great social media shots.
 Edit Your Photos Before You Post— But Don’t Overdo It
Celebrities are rife with Photoshopping “scandals” on social media. The thing is, nearly every photo is edited. Keep in mind that a bit of editing is terrific: You can choose a filter that gives your image a mood that perfectly suits your brand, brightens up dark photos, or erases a detail in the background that you didn’t intend to capture.
Overediting risks setting yourself up for ridicule, or worse, having people question whether what they’re seeing will indeed be what they get if they buy your products. Some good, free apps for photo editing include Snapseed and Photoshop Express.
Avoid Overexposure
 You can edit almost any problem with a picture— except overexposure or too much light. To avoid this problem in the first place, try to avoid taking pictures where you have too much light coming into the shot, significantly if it doesn’t affect your photo evenly.
Of course, there are also plenty of shots on social media that capture a beautiful ray of sunlight that focuses on the picture—wondering how the photographer pulled that off? They likely adjusted the exposure on their phone before taking the picture. You can experiment with this before taking your photo. Tap on the brightest part of your screen. You’ll notice a sun icon appears on an iPhone, and you can slide your finger down to decrease the exposure.
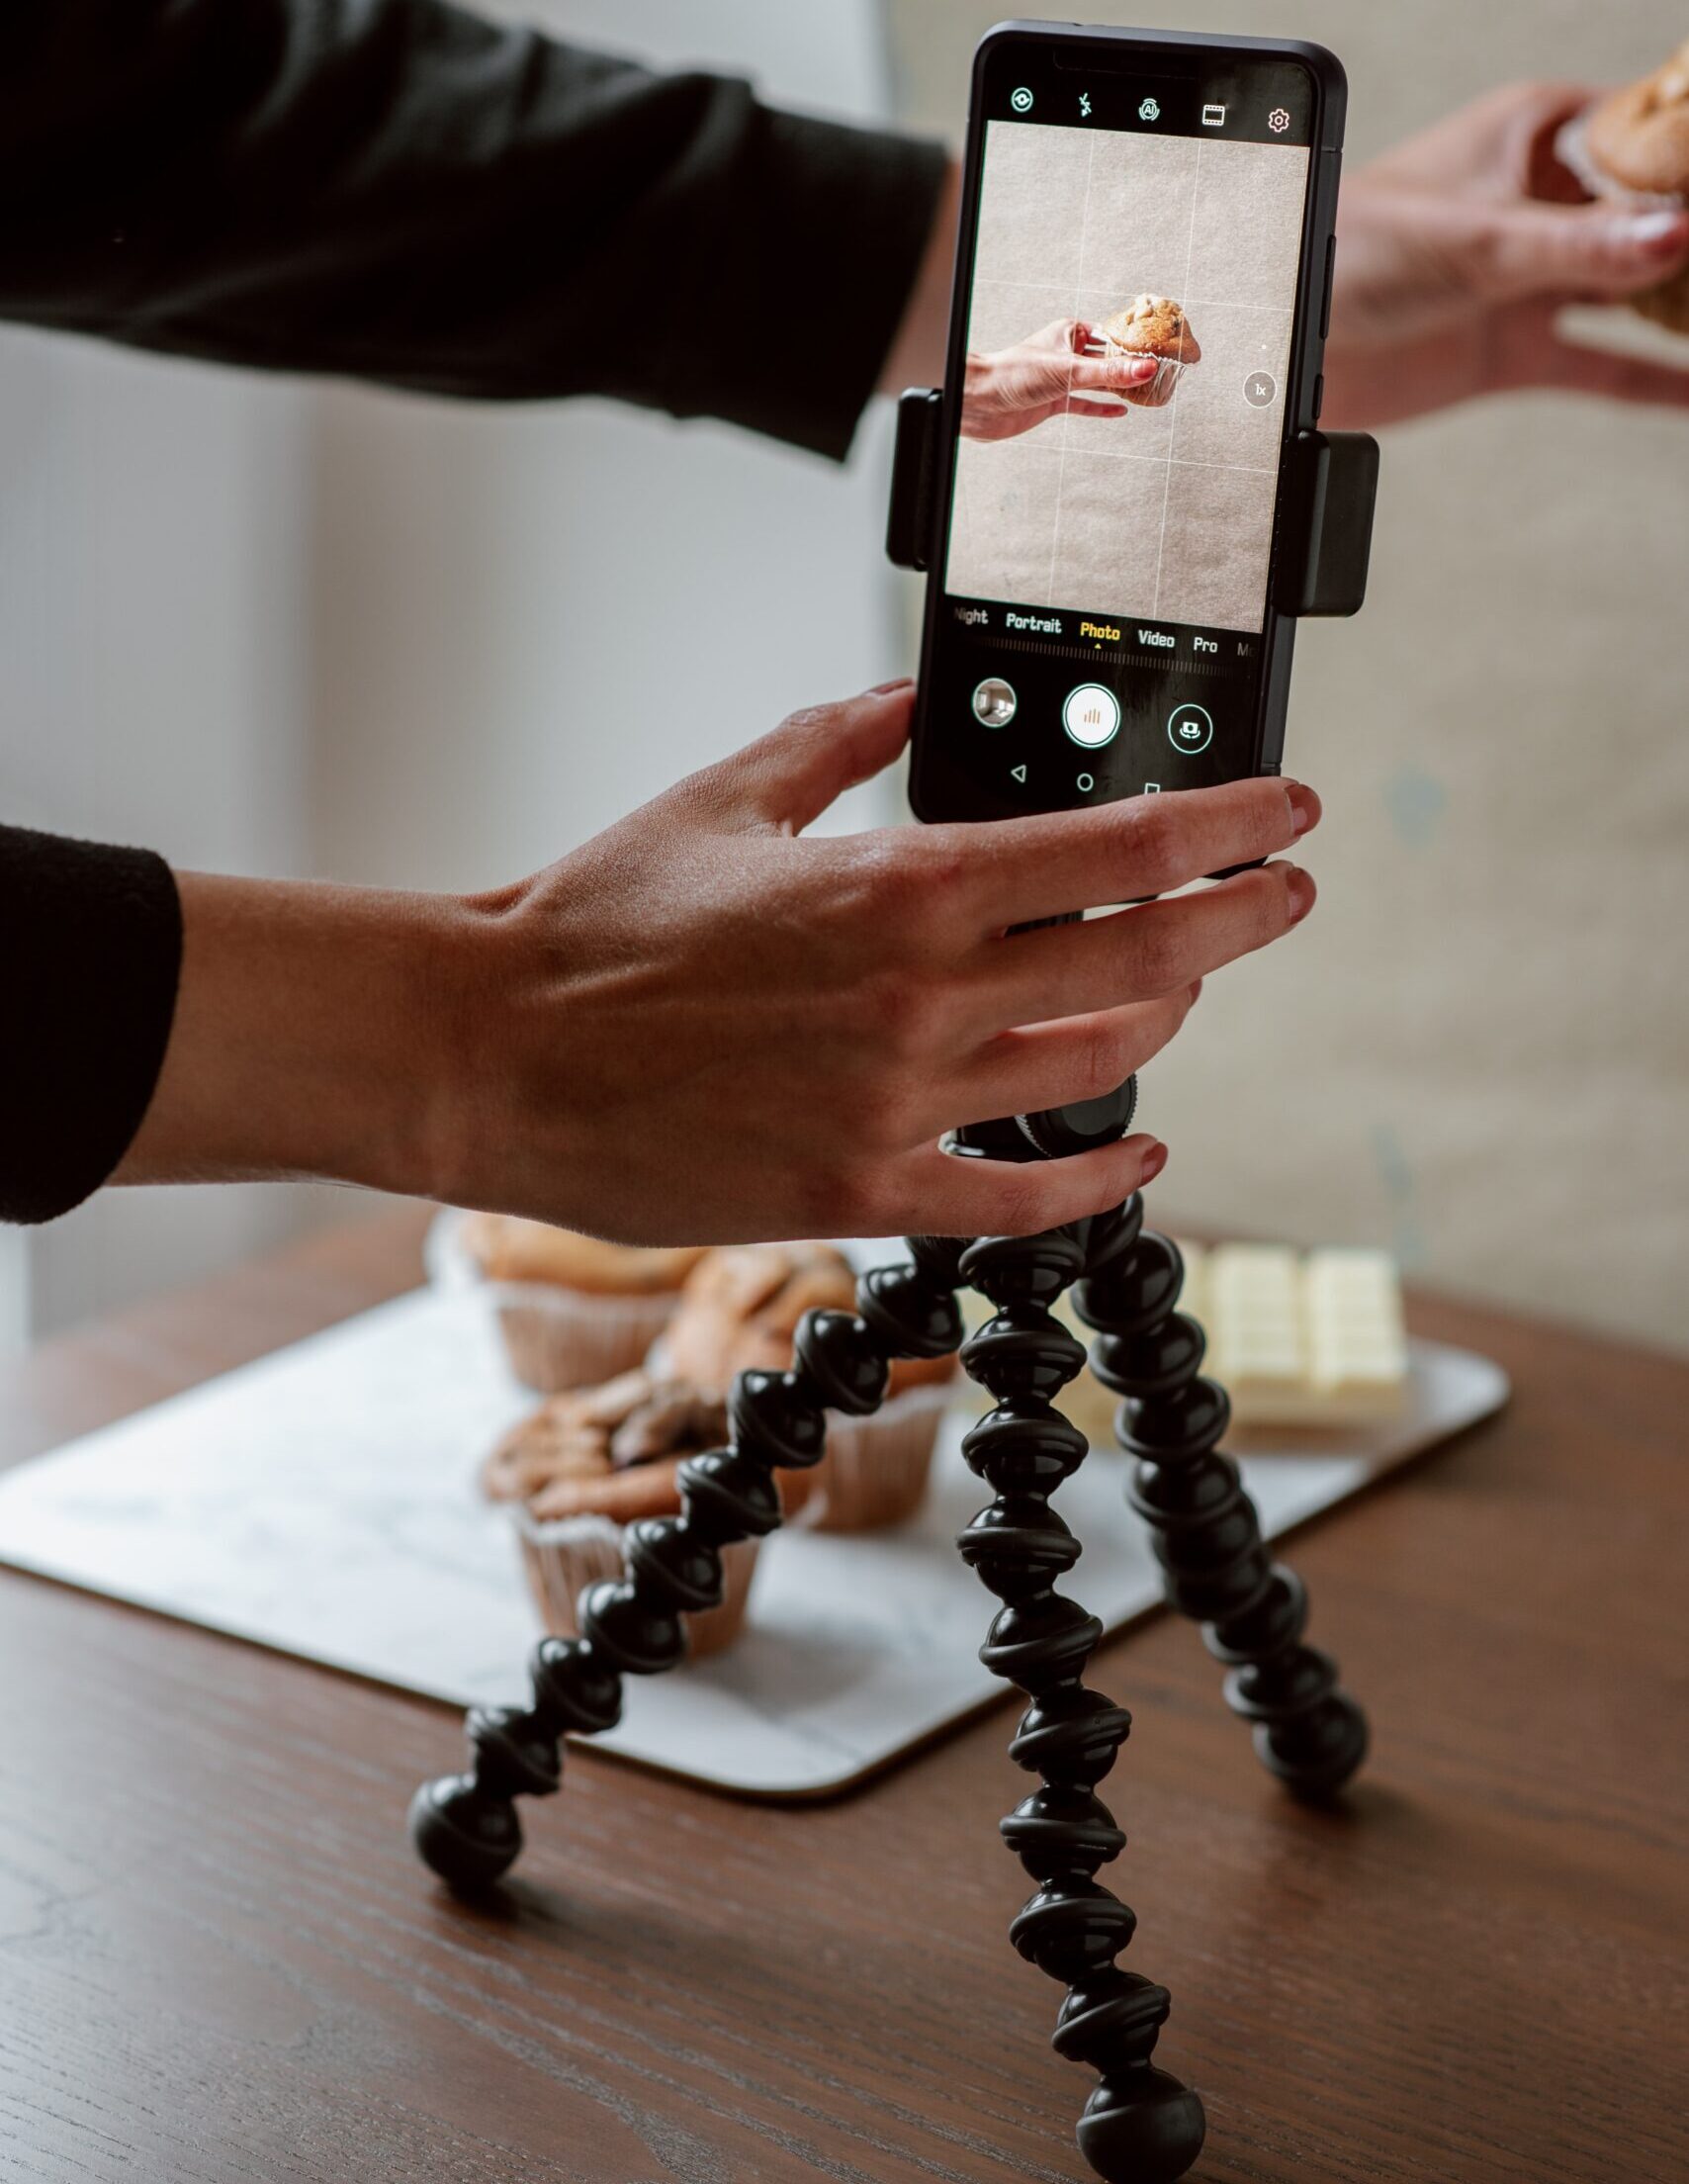
Turn On Your Gridlines
 Great photographers are familiar with the rule of thirds. If you haven’t heard of it, turning on the gridlines is the easiest way to explain it. You’ll be able to find them in your phone’s camera settings. The gridlines will help you see how your photo appears in columns and rows. There’s something very satisfying about perfectly centered images. Well-balanced asymmetrical photos can also be inherently pleasing.
An example would be a photograph of flowers appearing in the bottom third of your photo, with an excellent detail balancing it out in the top third of the picture. Even if you have a good eye, turning on the gridlines can help you save time and make sure your photo is framed just the way you want it.
 Invest in a Ring Light
Ring lights are precisely what they sound like— a ring of light. Place them behind your camera to shine more light on your subject before taking a photo. Whether you’re photographing a product or taking a selfie, a ring light will give you an excellent, even distribution of light and make you or your subject look better than in ordinary lighting. Ring lights are relatively common and inexpensive. Some even come with stands to hold your phone, leaving your hands free if you’re filming a video.
Don’t Shy Away From Candid Shots
We’ve given many tips for taking planned photographs, but don’t be afraid to take and share candid photos! These are great for breaking up your Instagram feed and giving your followers a sense of going behind the scenes. Candid shots are great for showing off your employees, providing new product hints, or just reminding people that you and your staff like to have fun, too!
Need Help?
Sometimes you need to take some studio photos, or perhaps you want assistance deciding which types of pictures would best support your business. We’re happy to offer you guidance. Reach out to us today so that we can discuss your photography needs.